DIY outdoor furniture projects can transform your outdoor space affordably. Crafting your own pieces adds personal flair and saves money.
Creating DIY outdoor furniture offers a customizable approach to enhancing your garden or patio, providing both functional and aesthetic benefits. Tailoring pieces to fit your space and style preferences allows for a unique outdoor setting. With the right tools and materials, you can build everything from simple benches to elaborate seating arrangements.
Tutorials and plans for DIY furniture are widely available online, enabling even beginners to undertake projects successfully. By selecting durable materials and employing proper techniques, your handmade furniture can last for seasons, making it a wise investment for homeowners looking to personalize their outdoor living areas.
Introduction To Diy Outdoor Furniture
Creating your own outdoor furniture is a fun way to personalize your space. DIY outdoor furniture projects can transform your garden or patio into a cozy retreat. You get to choose the design, materials, and colors that best fit your style and needs. With the right tools and some creativity, you can build furniture that’s both functional and stylish.
Benefits Of Homemade Furniture
Why opt for homemade furniture? There are several advantages:
- Cost-effective: Save money by building it yourself.
- Customization: Tailor the size, shape, and color to your liking.
- Pride of craftsmanship: Enjoy the satisfaction of using furniture you’ve created.
- Sustainability: Choose eco-friendly materials and reduce waste.
Materials You’ll Need
To get started on your DIY outdoor furniture, you’ll need the following materials:
| Material | Use |
|---|---|
| Wood | Frames and surfaces |
| Screws and Nails | Joining pieces |
| Paint or Stain | Color and protection |
| Sandpaper | Smoothing surfaces |
| Tools | Cutting and assembling |
Remember to wear safety gear and follow the instructions for each tool and material. With these items at hand, you’re ready to build stunning outdoor furniture that will last for years.
Basic Woodworking Tools For Beginners
Embarking on the journey of creating DIY outdoor furniture brings excitement and a touch of personal flair to any space. For beginners, the key to success lies in the foundation—starting with the right tools. Understanding and acquiring basic woodworking tools is essential before diving into projects. Let’s explore the must-have tools that will help transform raw materials into beautiful, handcrafted pieces.
Essential Tools List
Building a toolkit from scratch might seem daunting, but here’s a simplified list to get started:
- Tape Measure: Precision is crucial, and a tape measure is your best friend.
- Hammer: A classic tool for driving nails and fitting parts.
- Screwdrivers: A set with varied sizes and head types will cover most tasks.
- Hand Saw: Ideal for cutting wood without power tools.
- Chisels: Perfect for detailed work and refining edges.
- Power Drill: A versatile tool for drilling holes and driving screws.
- Sandpaper or a Sanding Block: For smoothing out surfaces and edges.
- Workbench: A stable surface to work on is a must-have for safety and precision.
- Clamps: For holding pieces together while they’re being worked on.
- Square: To ensure angles are perfect and components are square.
Safety Gear And Tips
While crafting your outdoor furniture, safety should be your top priority. Equip yourself with the following safety gear:
- Safety Glasses: Protect your eyes from flying debris.
- Ear Protection: Power tools can be loud; safeguard your hearing.
- <stron
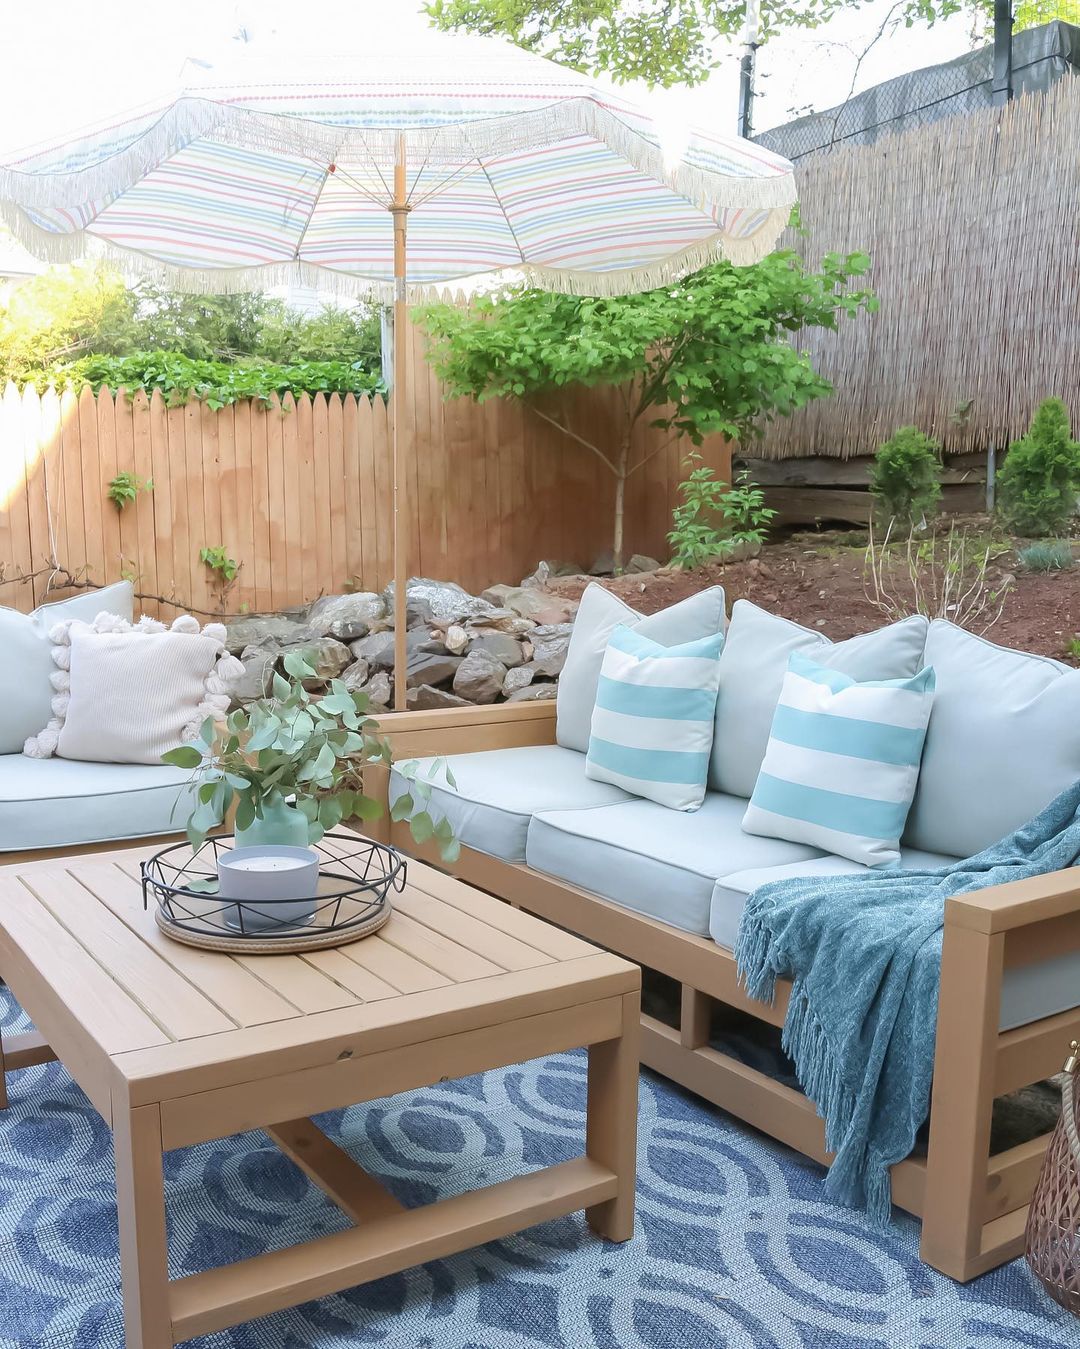
Simple Patio Chairs
Creating simple patio chairs breathes new life into your outdoor space. These chairs offer comfort and style. They are perfect for sunny afternoons. Anyone can build them with basic tools and materials. Let’s dive into how to select the right wood and construct your own patio chairs.
Choosing The Right Wood
The choice of wood is crucial for your patio chairs. It determines durability and aesthetics. Consider weather resistance and ease of maintenance. Popular options include:
- Teak: Naturally weather-resistant and durable.
- Cedar: Resists rot and has a pleasant aroma.
- Redwood: Offers beauty and longevity.
- Pressure-treated pine: Affordable and sturdy.
Always opt for wood that suits your climate and budget. It should align with your personal style as well.
Step-by-step Construction
Building patio chairs involves a series of steps. Follow this guide for a smooth process:
- Gather Tools and Materials: Include saw, screws, drill, sandpaper, and wood.
- Cut Wood to Size: Follow chair design for precise measurements.
- Assemble Seat Frame: Secure the sides with screws to form a sturdy base.
- Attach Backrest and Legs: Ensure they are strong and well-aligned.
- Sand and Finish: Smooth out edges and apply protective sealant or paint.
Take your time with each step. Precision leads to comfortable and safe seating. Enjoy crafting your very own patio chairs!
Credit: www.extraspace.com
Building A Weather-resistant Picnic Table
Outdoor gatherings shine with a sturdy picnic table at the center. Crafting a weather-resistant picnic table is a rewarding project. It ensures long-lasting outdoor enjoyment. This guide details each step to create a durable, attractive table.
Materials Selection
Selecting the right materials is key to outdoor furniture longevity. For a picnic table that braves the elements:
- Choose pressure-treated wood or dense woods like cedar and teak.
- Opt for stainless steel or coated screws to prevent rust.
- Consider a water-repellent finish for extra protection.
A table of materials could look like this:
| Material | Quantity | Notes |
|---|---|---|
| Pressure-Treated Lumber | 8 boards | 6ft length, 2-inch thickness |
| Stainless Steel Screws | 1 box | 3-inch length |
| Water-Repellent Finish | 1 gallon | Clear or tinted |
Assembly Instructions
Assembling your picnic table includes these straightforward steps:
- Cut the lumber to required dimensions.
- Assemble the table top, securing planks side-by-side.
- Build the leg frames, attaching cross beams for stability.
- Connect the table top to the leg frames with screws.
- Attach benches, ensuring they are flush with the table edges.
- Apply a coat of water-repellent finish for weather resistance.
Tip: Pre-drill holes to prevent wood splitting.
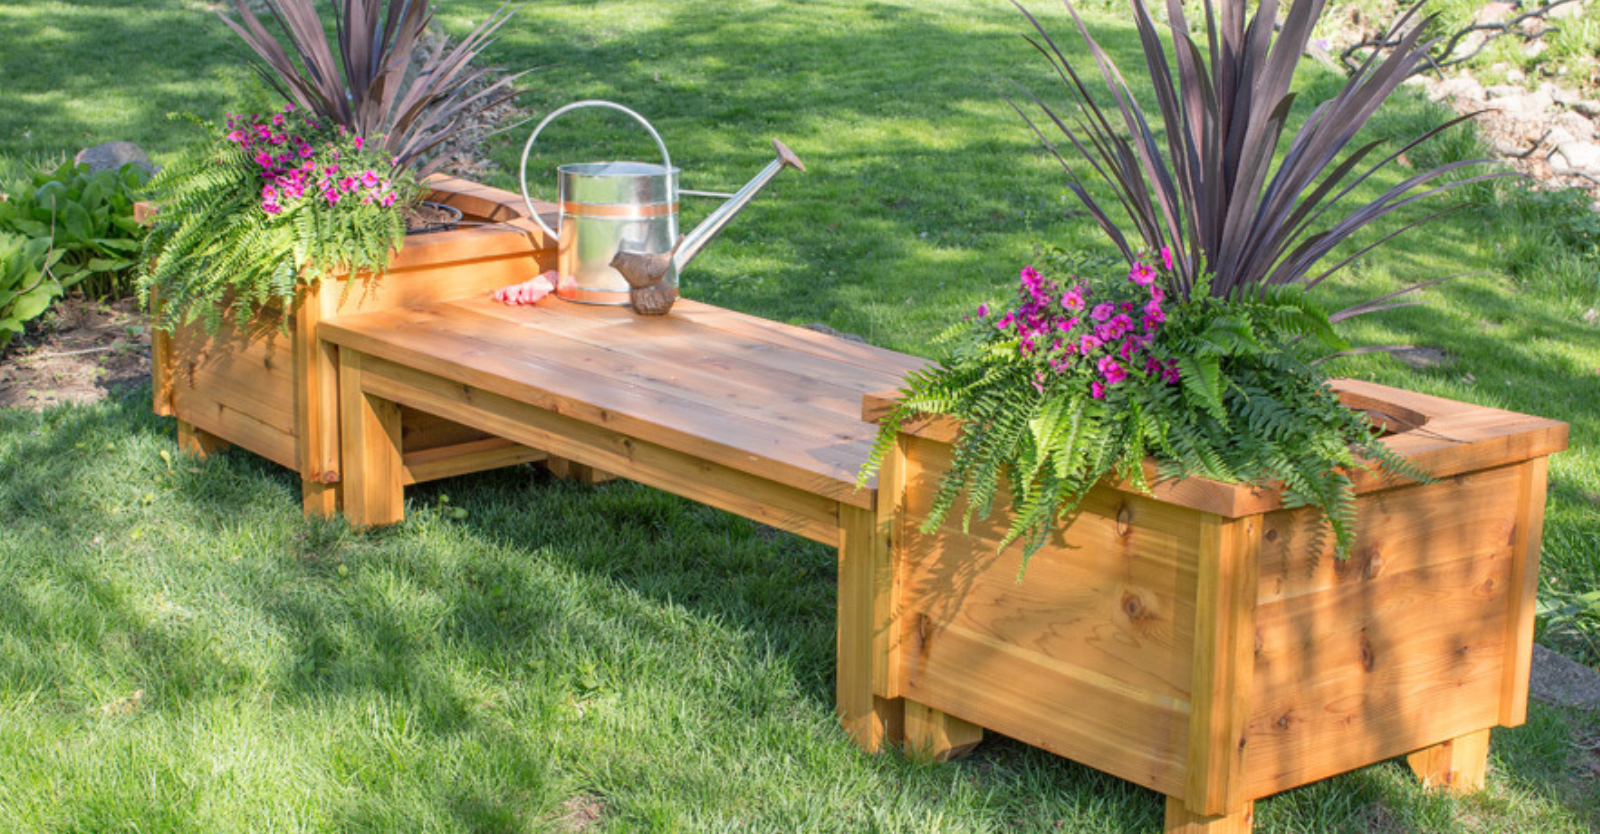
Garden Benches With Storage
Imagine a garden bench that not only offers a restful spot but also cleverly conceals your garden tools and accessories. Garden Benches with Storage are the perfect blend of form and function, creating a seamless look in your outdoor space while keeping it tidy.
Design Ideas
Personalized Touches: Start with a design that reflects your style. Add vibrant cushions or paint the bench in a color that pops. Consider incorporating planters on either end for a touch of greenery.
- Hidden Compartments: Design the seat to lift up, revealing storage underneath.
- Weather-Resistant Materials: Use cedar or teak to ensure longevity.
- Multi-functional Features: Integrate a foldable tabletop for added utility.
Building Process
- Plan Your Design: Sketch your bench with dimensions and storage requirements.
- Gather Materials: Source wood, screws, and weather-proofing stain.
- Cut and Assemble: Cut wood to size and assemble the frame.
- Install Storage: Attach hinges to the seat for easy access to the storage area.
- Finishing Touches: Sand, stain, and add any decorative elements.
With these steps, you’ll create a garden bench that’s not just a seat but a storage solution that enhances your outdoor space.
Credit: learn.kregtool.com
Creative Planters From Recycled Materials
Transform your garden with creative planters made from recycled materials! Not only do these eco-friendly projects save the planet, but they also add a unique touch to your outdoor space. Let’s dive into the world of DIY and turn your recyclables into stunning garden features.
Types Of Recyclables To Use
Choosing the right materials is the first step in creating your planters. Here are some popular options:
- Plastic bottles: Versatile and easy to cut.
- Old tires: Durable and great for larger plants.
- Tin cans: Perfect for smaller herbs and flowers.
- Wooden pallets: Ideal for a rustic look.
- Used boots: Quirky and playful containers.
Construction Techniques
Now, let’s put those materials to work. Here are some simple methods to build your planters:
- Cut and clean your chosen recyclables.
- For plastic and cans, use a drill to make drainage holes.
- Decorate with paints or fabrics to suit your style.
- Fill with soil and plant your favorite greens!
| Material | Construction Method |
|---|---|
| Plastic Bottles | Cut, decorate, drill, plant. |
| Old Tires | Stack, fill with soil, plant. |
| Tin Cans | Clean, paint, drill, plant. |
| Wooden Pallets | Secure, fill, plant. |
| Used Boots | Clean, fill, plant. |
Outdoor Bar Setup
Creating an Outdoor Bar Setup turns your backyard into a fun spot. You will enjoy fresh air and drinks with friends. Let’s dive into how to design your own bar and what you’ll need.
Designing Your Bar
Start by choosing a theme for your bar. It could be tropical, modern, or rustic. Think about the space you have. A smaller space might need a compact design.
- Location: Pick a spot that’s dry and near your house.
- Seating: Include comfortable stools or chairs.
- Lighting: String lights or lanterns create a cozy mood.
- Countertop: Use materials like wood or stone for a stylish look.
Tools And Materials
You need some tools and materials to build your bar. Here is a list:
| Tool | Material |
|---|---|
| Saw | Wood planks |
| Drill | Screws |
| Hammer | Nails |
| Measuring Tape | Stone tiles (optional) |
| Sander | Paint or Stain |
Remember to wear safety gear like gloves and goggles. Follow instructions for each tool. You can watch tutorials or ask for help if you need it.
Maintenance And Care For Outdoor Furniture
Maintaining your outdoor furniture is essential. Proper care extends its life and keeps it looking great. Follow these tips to protect your investment.
Routine Cleaning Tips
Keeping your outdoor furniture clean is simple but necessary. Here are easy steps to follow:
- Wipe surfaces regularly to remove dirt and dust.
- Use mild soap and water for weekly cleaning.
- Avoid harsh chemicals that can damage furniture materials.
- For wood furniture, use a soft brush to remove stubborn residue.
- Rinse thoroughly with clean water after washing.
Winter Storage Solutions
Proper storage during cold months protects your furniture. Consider these options:
| Material | Storage Solution |
|---|---|
| Wood | Cover and store indoors |
| Metal | Use waterproof covers |
| Plastic | Stack and cover |
| Fabric | Remove, clean, and dry indoors |
Always check manufacturer’s guidelines for specific care instructions.
Empty and clean storage areas before placing furniture inside. Ensure a dry environment to prevent mold and mildew.
Eco-friendly Projects
Creating DIY outdoor furniture lets you add a personal touch to your garden or patio. When these projects focus on being eco-friendly, they benefit the planet too. Use green materials and smart designs to build furniture that looks good and feels great.
Using Sustainable Materials
Choosing the right materials makes a big difference. Look for those that do not harm the environment. Here are some top picks:
- Reclaimed wood: It’s durable and has unique character.
- Bamboo: This fast-growing plant is a renewable resource.
- Recycled plastic: It keeps waste out of landfills.
Make sure the materials are untreated and non-toxic. This keeps the earth and your family safe.
Benefits For The Environment
Eco-friendly furniture projects offer many benefits:
- They reduce waste by reusing materials.
- They lower pollution, as less processing means fewer emissions.
- They save trees by using less virgin wood.
By building with eco-friendly materials, you support a healthier planet.

Credit: www.youtube.com
Frequently Asked Questions
Is It Cheaper To Make Your Own Patio Furniture?
Making your own patio furniture can be cheaper, especially if you have basic tools and access to affordable materials. DIY projects cut labor costs and allow for customization while potentially saving money.
What To Build Outdoor Furniture Out Of?
Build outdoor furniture from durable materials like teak, cedar, metal, or synthetic resin for longevity and weather resistance.
What Can I Use To Weatherproof Outdoor Furniture?
To weatherproof outdoor furniture, use waterproof sealants, weather-resistant paints, or protective covers. Regular maintenance, including cleaning and applying protective treatments, also helps extend furniture life.
What Wood Can You Use For Outdoor Furniture?
Teak, cedar, eucalyptus, and acacia woods are excellent choices for outdoor furniture due to their durability and weather resistance. These woods naturally withstand decay, pests, and rot, making them ideal for long-lasting outdoor use.
Conclusion
Creating your own outdoor furniture is a rewarding journey. It blends creativity with functionality, offering a personal touch to your garden or patio. Embrace the challenge and enjoy the fruits of your labor under the sun or stars. Start crafting your outdoor oasis today and make lasting memories with every piece you build.